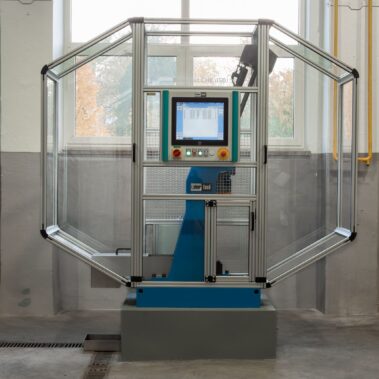
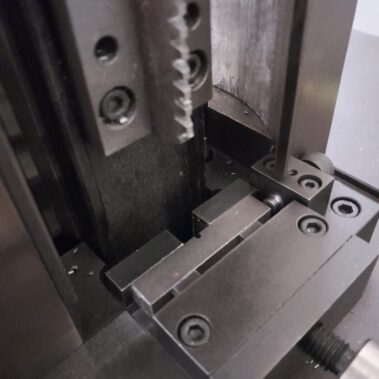
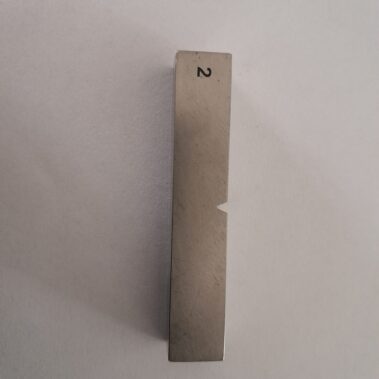
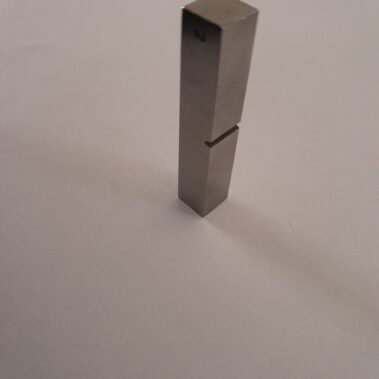
This is the most widely used test to evaluate the resistance of steel to brittle fracture. The Charpy impact test consists of placing a specimen of material on a support and applying a downward force to the centre of the specimen while fixing the ends. This force causes the specimen to deform and bend. During the test, the applied force is measured and the deflection of the specimen is monitored. The dimensions of the test bodies, the specification of the test apparatus and the actual performance of the test at ambient and defined temperatures are specified in the standard. The laboratory is equipped to temper the test pieces from -70 °C to +20 °C. Our laboratory uses the LabTest CHK450J pendulum Charpy hammer with digital angle sensing. We have a replaceable cutting edge with a radius of 2 mm according to ISO standard CSN ISO 148-1.
Charpy impact test and our laboratory
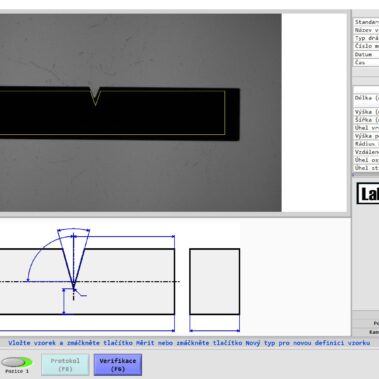
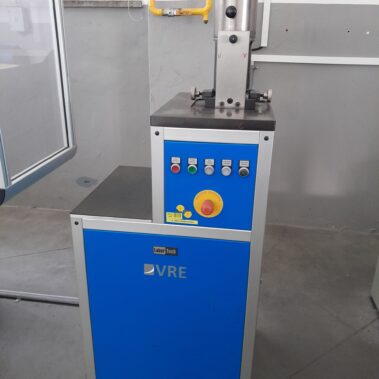
The testing laboratory is equipped with a notching device and ensures the preparation of the notch on the supplied material samples. Prior to the actual test, the shape and size of the test specimen is verified using the OptoLab device, which compares the test specimen with the dimensional requirements of the relevant standard. In the event of failure to meet the required dimension of the specimen according to the relevant standard, the test piece shall be adjusted until it meets the requirement of the relevant test standard. Our laboratory is also equipped with a LabTest CHK450J pendulum Charpy hammer with digital angle sensing. A replaceable cutting edge with a radius of 2 mm according to ISO standard CSN ISO 148-1 is available. We can arrange for the production of a test specimen from a sample supplied by you.

