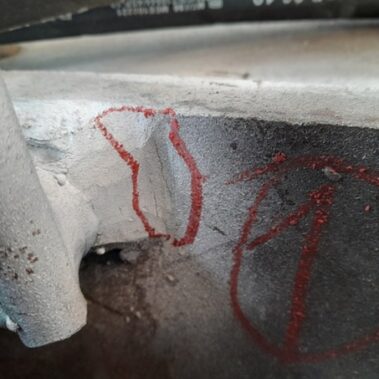
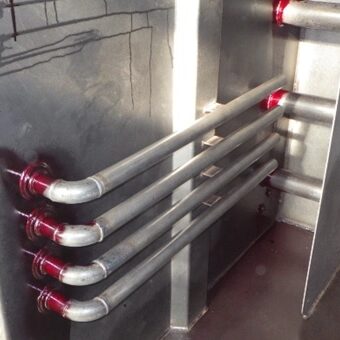
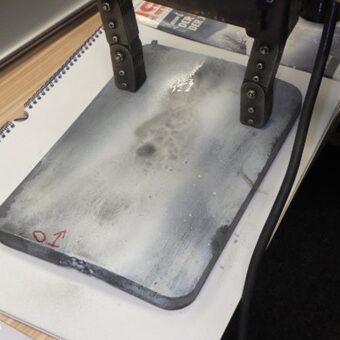
Defects can include cracks, voids, material inhomogenity, insufficient interconnection between welded pieces or any other defects that can lead to the failure of the material. Nondestructive testing (NDT) is technique used to detect these defects. It is an important method for testing the quality of materials and welds, and is used to identify invisible flaws which could influence their strength, reliability and safety.
Non-destructive testing of materials and welds
- Non-destructive testing of material quality and weld joint according to production documentation and customer requirements
- Developing of procedures and instructions for carrying out non-destructive inspections
- Inspecting the springs of catchings of the transport vessels and determining their characteristics
- Expert opinions in accordance with the subject of activity
This is the most commonly used method of non-destructive testing. The principle of MPI is to create a magnetic field in the tested material. If the material or weld is flawed, changes in the magnetic field occur and the flaw is detected. It is used during the detection of surface and subsurface defects – cracks, fissures, pores and inclusion of ferromagnetic materials.
This method is often used to examine surface defects such as cracks, fissures or pores. Its principle is that a liquid penetrant is applied to the surface of the tested material and penetrates very thin cracks in the material structure. This is followed by the application of a development agent which is absorbed into the capillary agent and coloured to produce a visible image of the defect on the surface of the material.
This is the simplest and fastest NDT method, using special gauges to detect surface defects. If necessary, surface cleaning or the removal of coating or dirt may also occur in order to reveal defects more easily. Visible defects may include cracks, holes, scratches or corrosion distortion.
In the case of wall thickness measurement, the ultrasonic testing method is performed using a suitable ultrasonic device. However, in order for ultrasonic defectoscopy to take place, the acoustic transmissibility of the tested material is necessary.
If you are not sure which method is right, there is nothing to worry about. We will be happy to help you choose the ideal one, so that we can uncover any technological errors in the production of your products.

