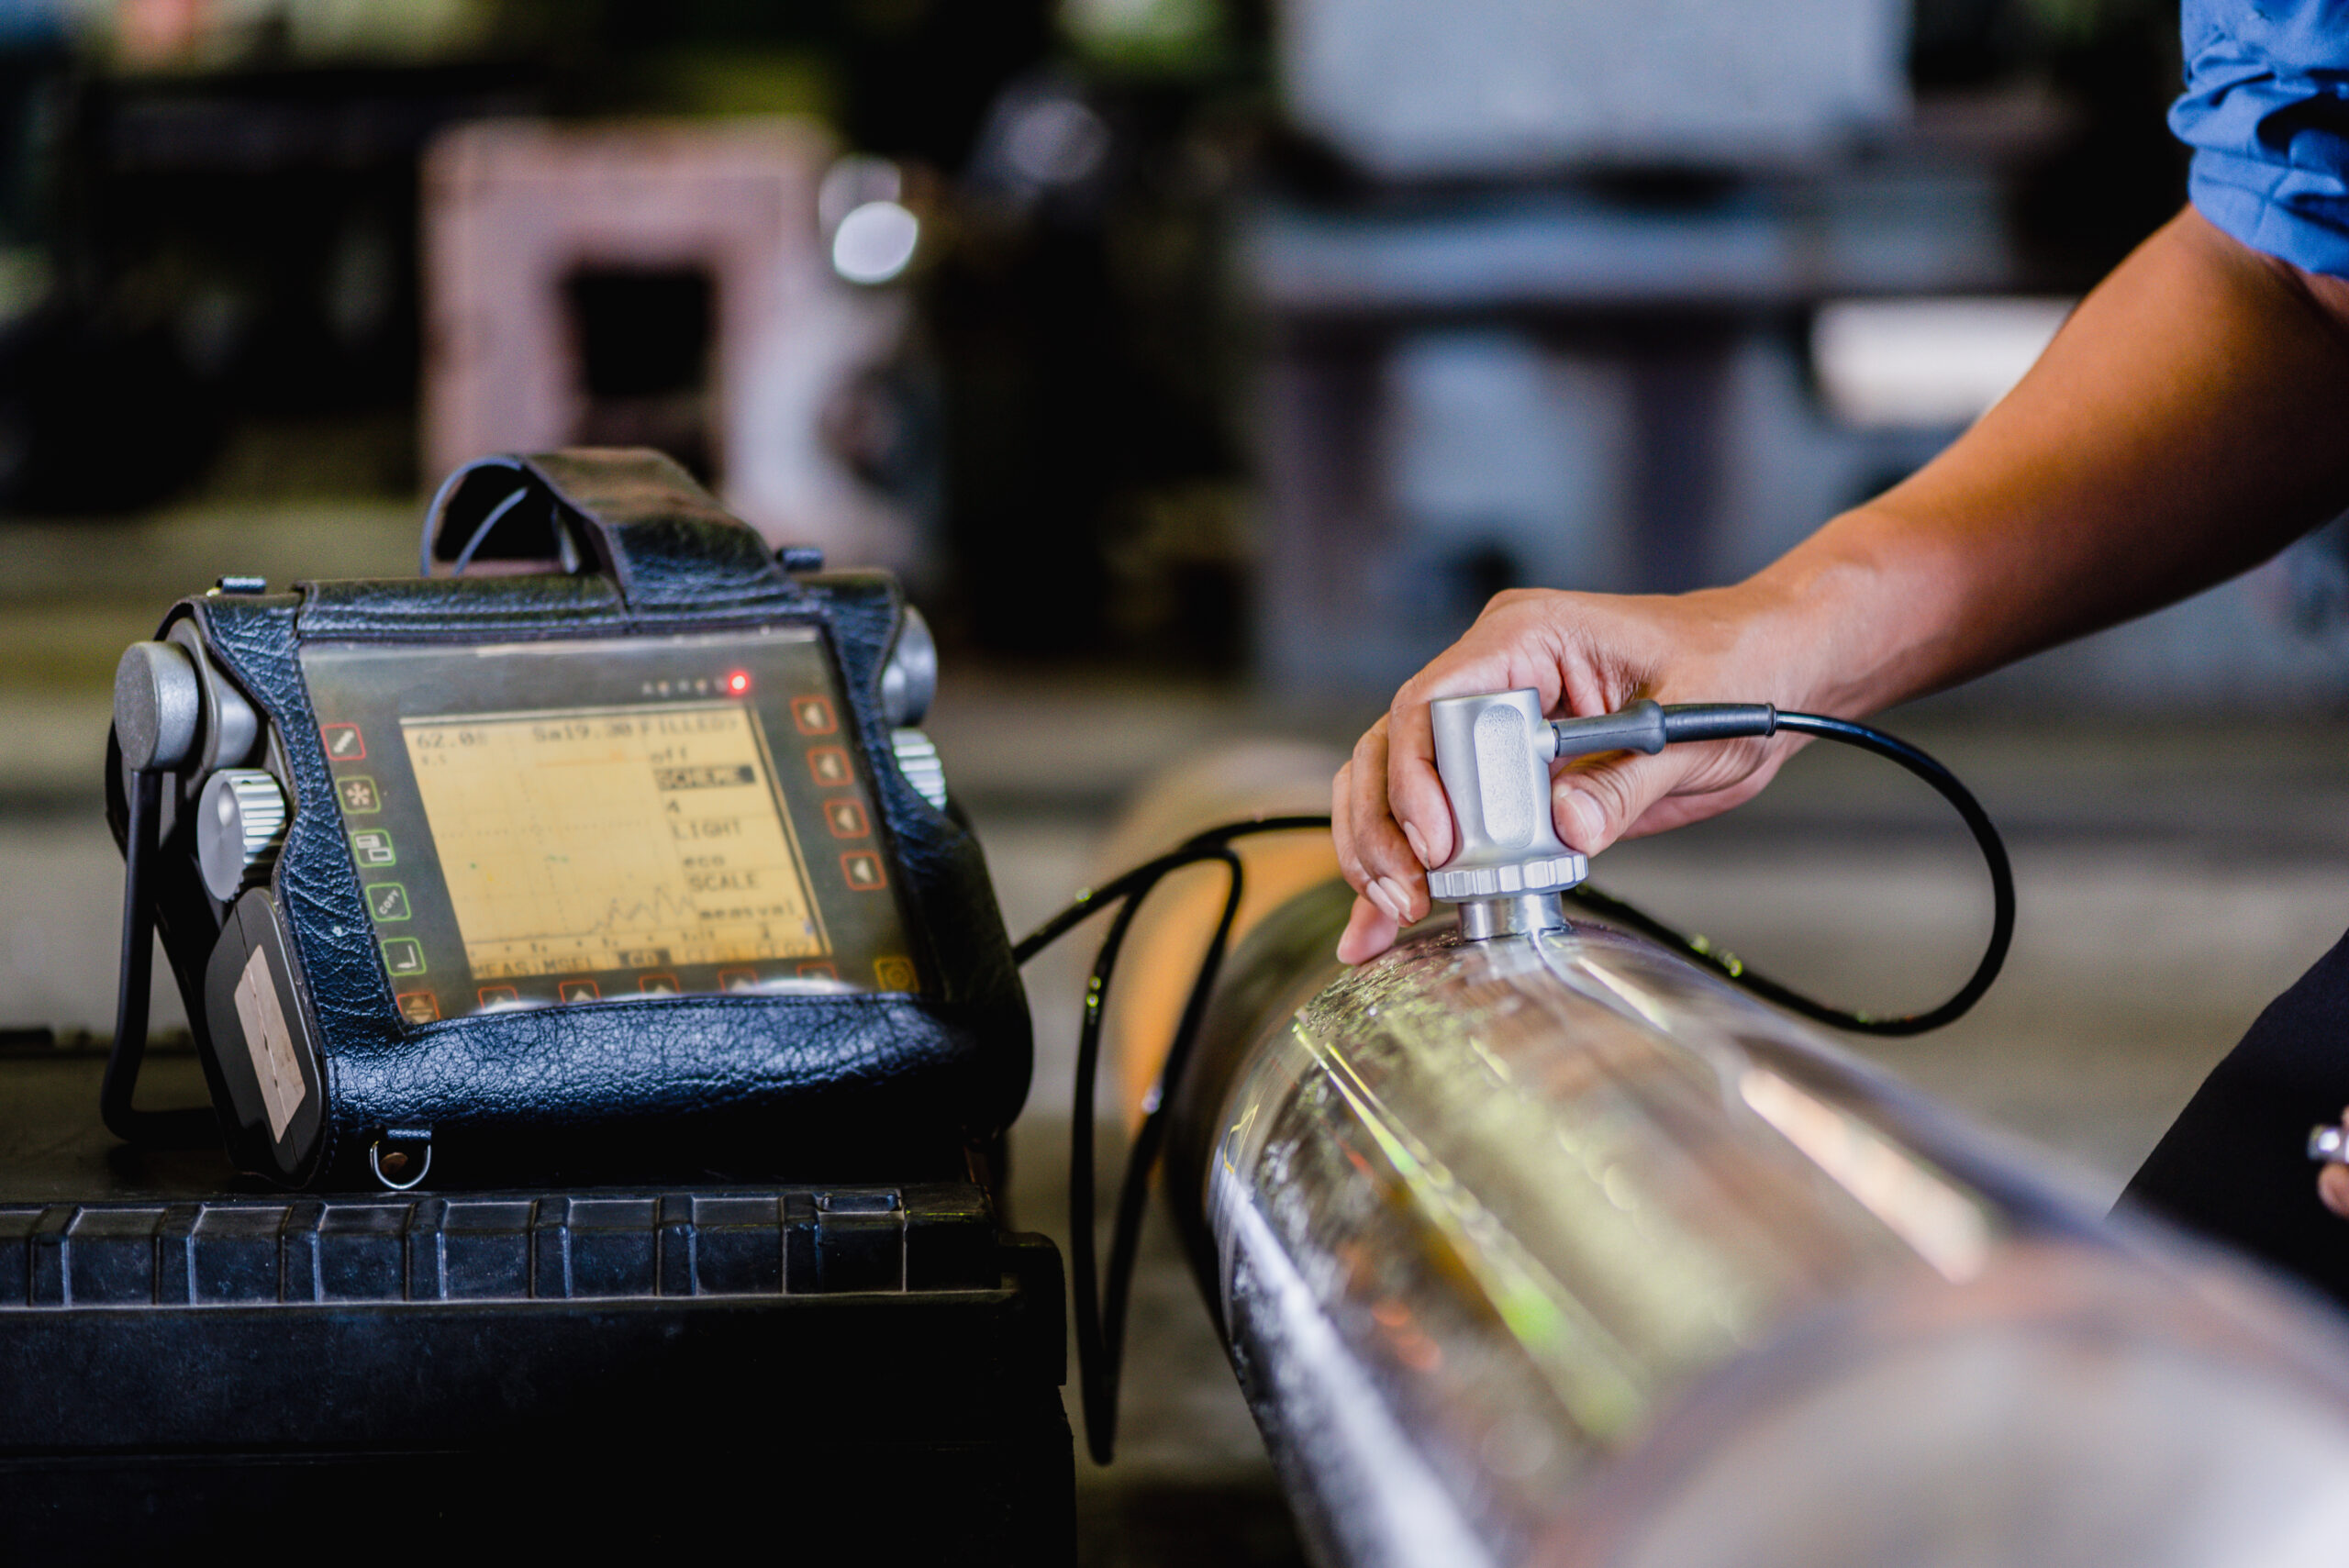
Non-destructive testing (NDT) is a discipline that deals with the detection, evaluation and examination of defects, flaws and irregularities in materials and structures. It includes a set of methods that are able to detect defects in a product without damaging or breaking it, based on measurable or observable physical phenomena. The aim of NDT is to identify potential problems that could affect the strength, reliability or functionality of a given product. In this article, we will focus on a particular type of non-destructive testing – ultrasonic testing.
Ultrasonic testing
This is one of the basic methods of non-destructive testing. This method uses high-frequency ultrasonic waves to detect, locate and characterize internal defects and irregularities in materials, even at great depths below the surface.
However, it can also be used to detect surface defects. It is mainly used for testing formed semi-finished products (plates, forgings, bars), welds and castings.
The principle of the ultrasonic test is that an ultrasonic wave is generated using special equipment. This wave is then transmitted to the tested material. If there is a defect in the material, the ultrasonic wave is reflected or scattered. This wave is detected by sensors on the probing head and is then converted into an electrical signal. This signal is then processed by the ultrasound machine, which allows immediate visualisation of the results.
The ultrasound exam provides a variety of information about the defect, including its size, location, shape and nature. Using the measured time between the transmission and reception of the ultrasonic wave, we can determine the depth of the defect in the material. In addition, analysis of the change in intensity and characteristics of the ultrasonic signal can provide information on the type of defect. The possibility of automating the inspection process is also an advantage.
Our defectoscopy department has staff with level III qualifications for the UT method. We perform tests on welded joints, forgings, pipes or thickness measurements of materials. The final output of the tests is an accredited test report in Czech and your required language.
In the case of wall thickness measurements using ultrasonic defectoscopy, the material needs to have acoustic sound transmission. Without this, the test cannot be performed.

